What is a Photo Stitch? (the second part)
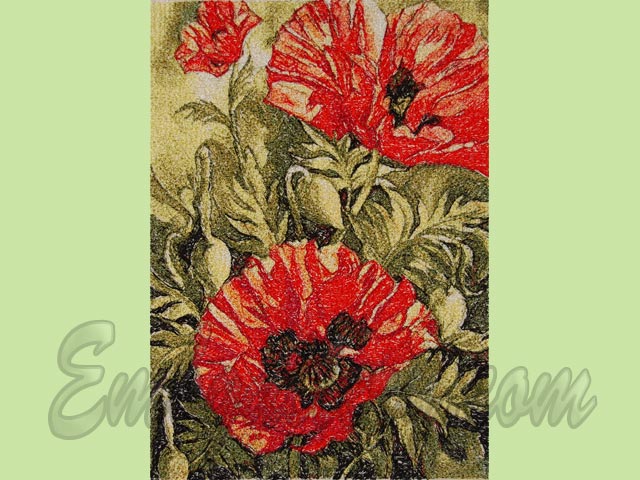
 In the second part of the article devoted to the Photo Stitch, we will tell about all stages of an embroidery of design in this techniques on a picture example «Scarlet poppies». The first part of article you can read here.
Preparation for the embroidery
The fabric-basis, the stabilizer, threads will be necessary for the embroidery
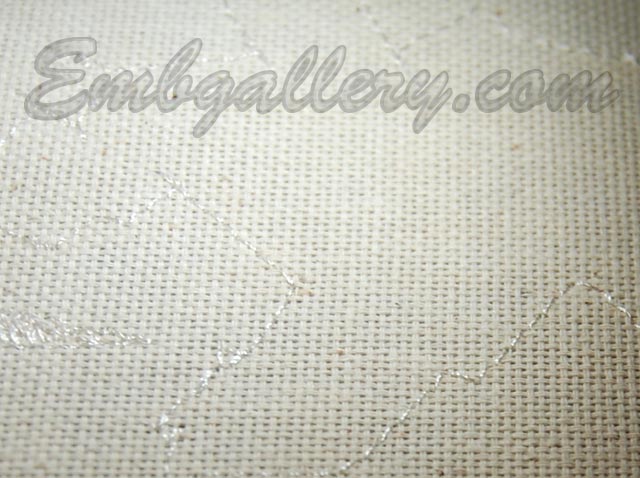 It is better to select the fabric-basis of natural structure in order to remove possible roughness of the ready embroidery with the help of iron. In this case I have chosen a fabric "two-thread". It is a dense rigid enough cloth with structure of 100 % cotton with visually appreciable weave of threads in the order 2X2. Due to the weave it also received the name.
 Stabilizers can be various - iron-on tear-away stabilizer, thick Cut Away stabilizer, sewing dublirins and fleeces, a printer paper. The choice depends on your preferences and final mission of the embroidery, it is important to provide only REALLY GOOD stabilization that is dictated by high density of the embroidery in this techniques (the Photo Stitch). In this case I use two layers of the medium-weight tear away stabilizer.
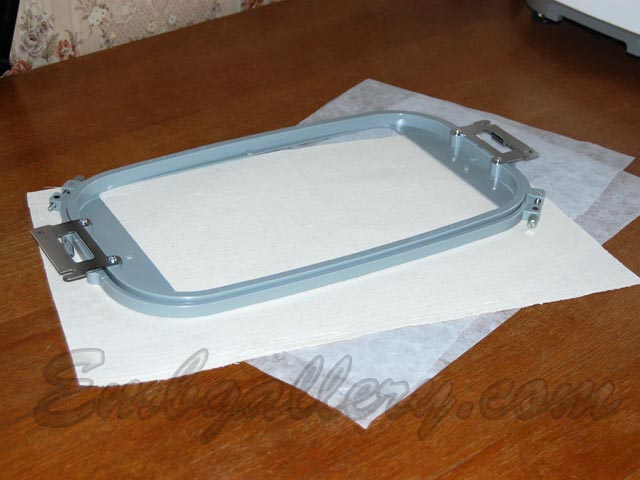
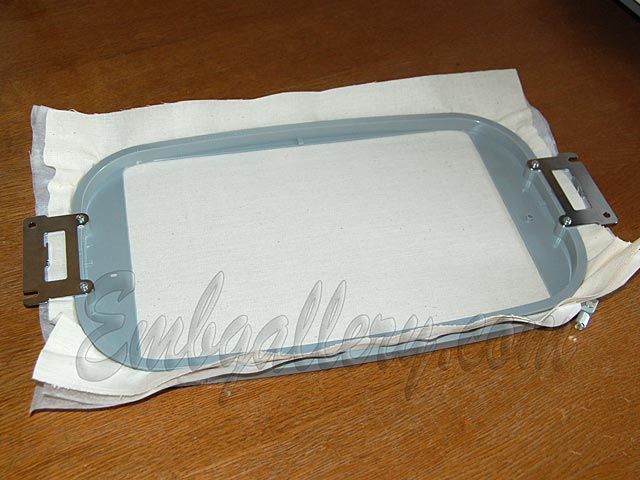 Hoop the fabric with the stabilizer, stretching them across the hoop tightly. There should not be any folds or areas where the fabric has puckered.
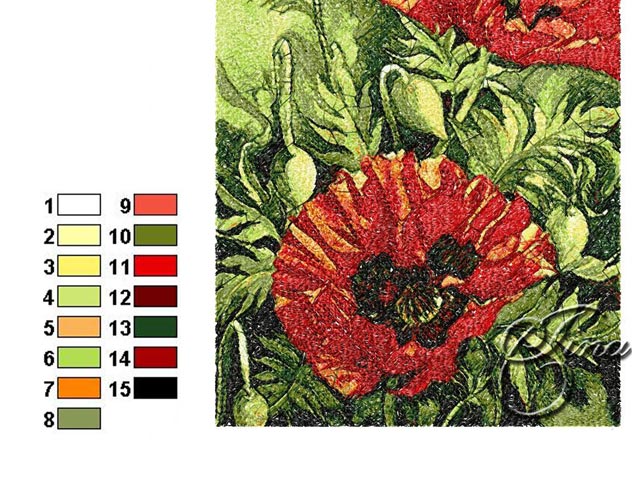 Selection of threads is very responsible and labor-consuming stage. It is necessary to use the card of colors applied for the design. Its listing on the printer can give distortions of colors, however, as well as the image on the screen of the monitor, therefore do not forget to trust own eyes and sense of taste also. Lists with names of colors or with their numbers in this or that palette are applied for some our designs. Take them as a guide in your choice. It is better to select colors at a daylight.
If you have any doubts, do not regret time, if even selection of colors will take much more time. One of our customers spends a half-day for a choice of threads for difficult pictures or icons.
Remember that badly selected colours can ruin any, even the best design in the Photo Stich Technique!
However not all can be foreseen in advance and the situation is quite real that in the ready embroidery nevertheless you will want to replace separate colors on more suitable ones. Therefore for responsible designs in the Photo Stich Technique (for example, a portrait in a gift), it is necessary to plan at once two brattices - preliminary and fair. It doesn't mean that the preliminary one will be so bad that it should be thrown out in a basket. In the second time you can simply bring result of your embroidery to perfection!
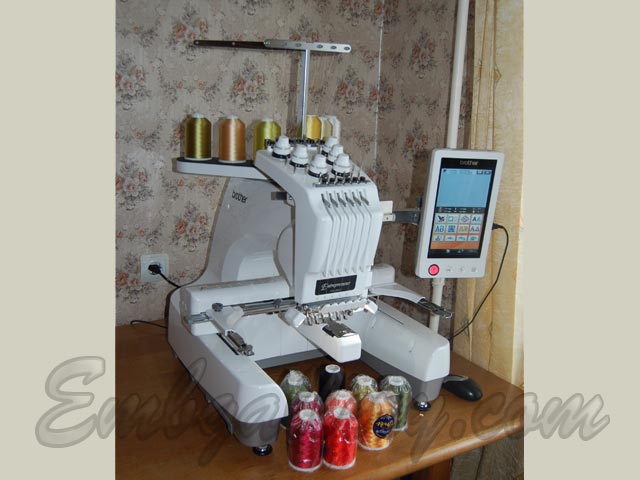 So, threads were picked up, a fabric with the stabilizer are in the embroidery hoops. It is possible to switch on the embroidery machine and to begin the embroidery.
Attention! It is preliminary desirable to disable trimming in your embroidery machine (if it is in your embroidery machine). It is connected with that the jump stitches in designs in this techniques are much enough. The reason of their occurrence is in the mechanism of work of program PE-DESIGN when stitches and transitions between them are generated by the program automatically. Therefore it is better not to load your machine with such quantity of scraps, and to remove the jump stitches manually after embroidery of each color.
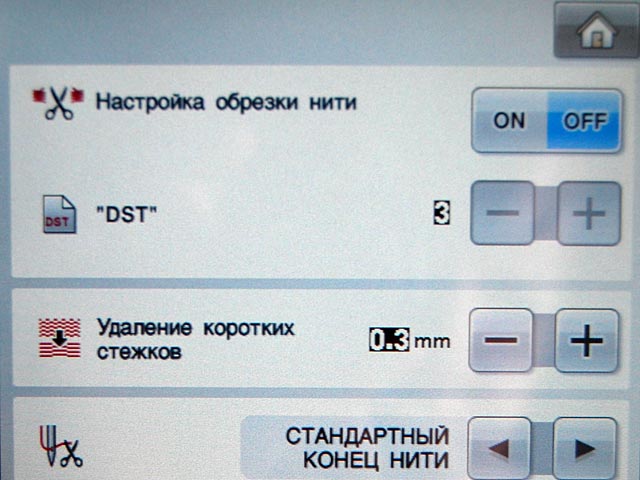 How to to disable trimming – you can read it in the instruction to your embroidery machine. On the photo on the left the screen of corresponding settings for the embroidery machine Brother PR-650 is shown.
Embroidering
So, we are switching on the embroidery machine.
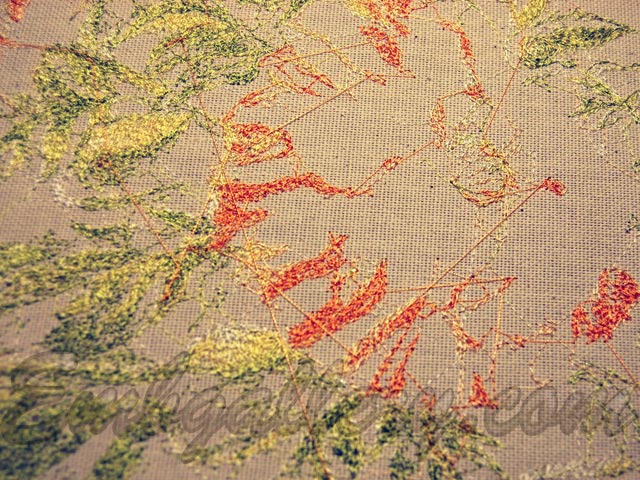 Here you can see not cut off jump stitches (click the photo to enlarge it). Set your machine on an automatic stop after embroidery of each color and cut off jump stitches by special scissors. From seamy side of the embroidery it is not necessary to remove!
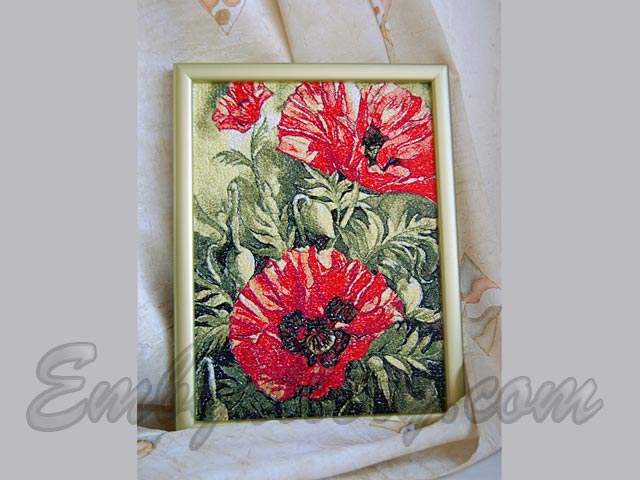
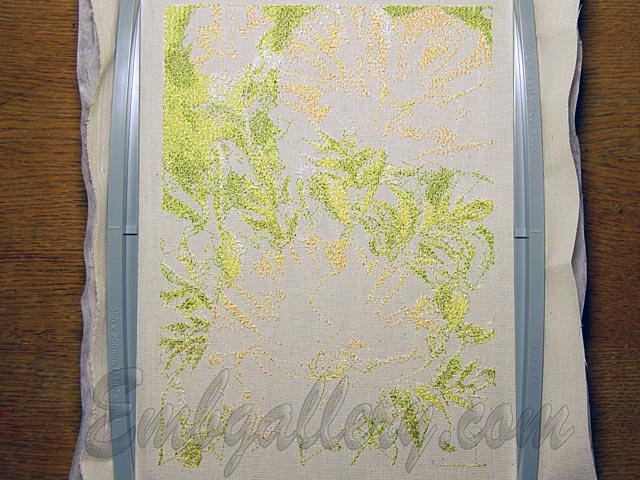
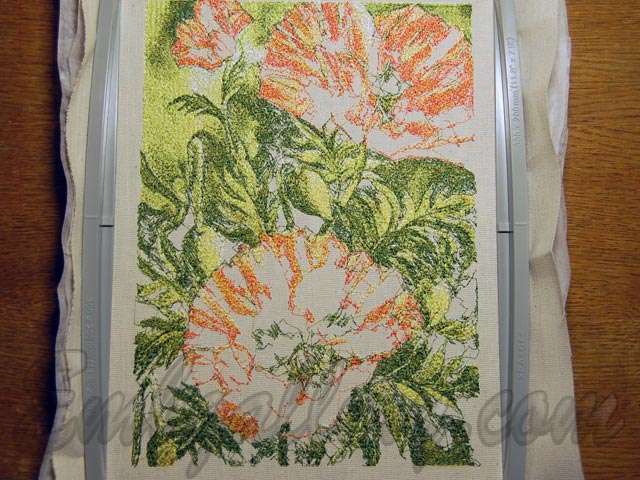
Then on several photos we will show process of the embroidery of our design at different stages. It will help you to imagine better what is the photostitch if earlier you didn’t know it. The last photo is a ready embroidery.

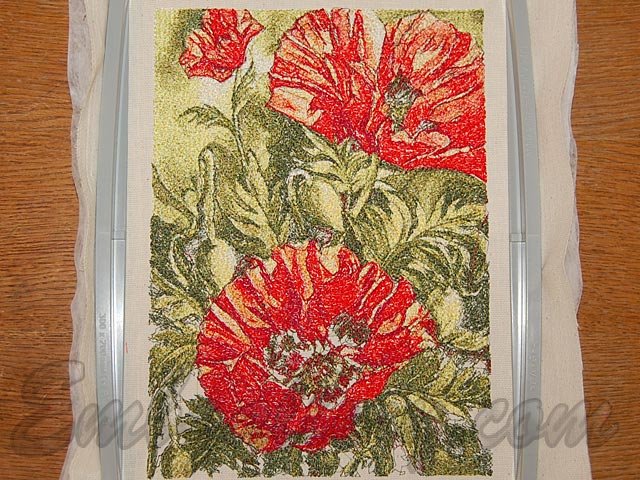
After the embroidery is finished remove the excess stabilizer, iron the product and glue it from a wrong side by flizelin. It remains to choose an appropriate frame for a picture and your artwork is ready :)